
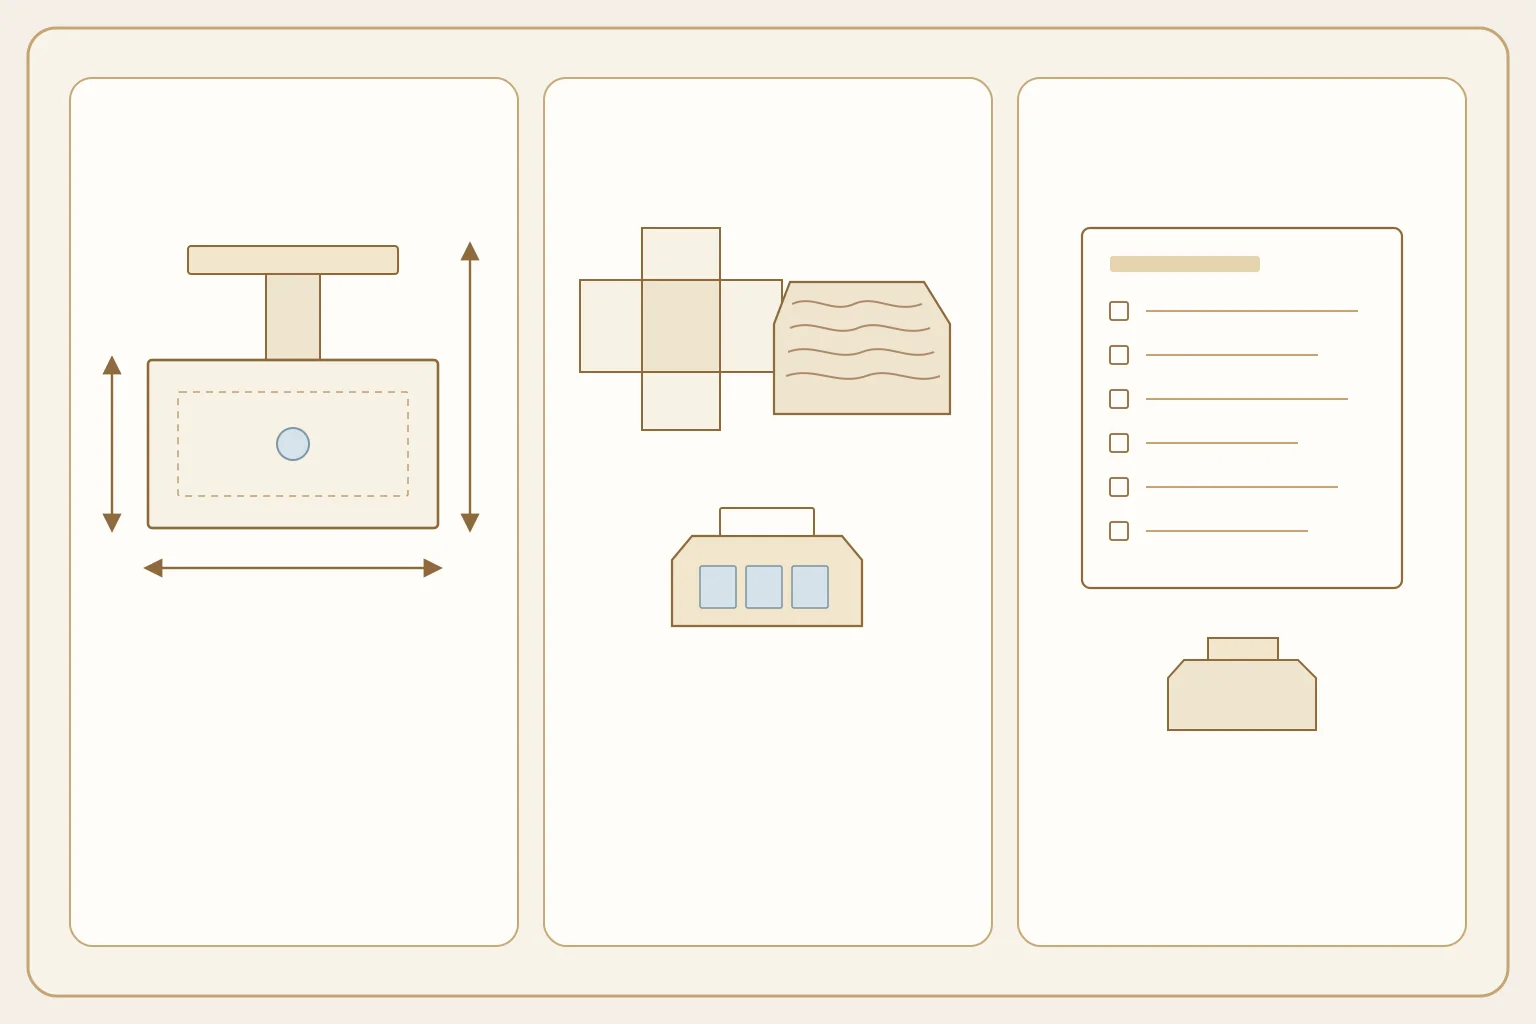
What a counter display RFQ must decide first
| Decision | Why it changes the quote | Trap to avoid |
|---|---|---|
| Footprint (L × W on the counter) | Sets blank size and retailer counter rules | Guessing from a hero render |
| Max height / sightline | Affects board grade, headers and tip risk | Ignoring caps, pumps or hang tabs |
| Facing count and unit weight | Drives trays, partitions and board path | Quoting empty display weight only |
| One-piece vs tray + header / wrap | Changes dieline count and assembly | Mixing two structures in one MOQ line |
| Ship flat or pre-glued | Changes packing and sample checks | Assuming staff will invent assembly |
If several SKUs share one display, size cavities to the largest finished envelope, or treat each cavity size as its own design for MOQ.
Sizing: footprint, height and clearances
- State the counter footprint in one unit system (mm preferred): length × width the erected base may occupy.
- Cap overall height including header, riser or hang tab.
- Record product L × W × H (or OD × H) for every SKU — capped / labelled size, not catalogue-only.
- Note facing depth: how many units deep and how they pull without tipping the tray.
- Leave header overlap and fold-over flaps as explicit dimensions so net product height is clear.
- If the display sits in a shipper, give outer shipper limits separately from the counter footprint.
Do not average tapered bottles into a “typical” size. For irregular items, give the maximum envelope and where high points sit.
Structure: folding carton vs corrugated
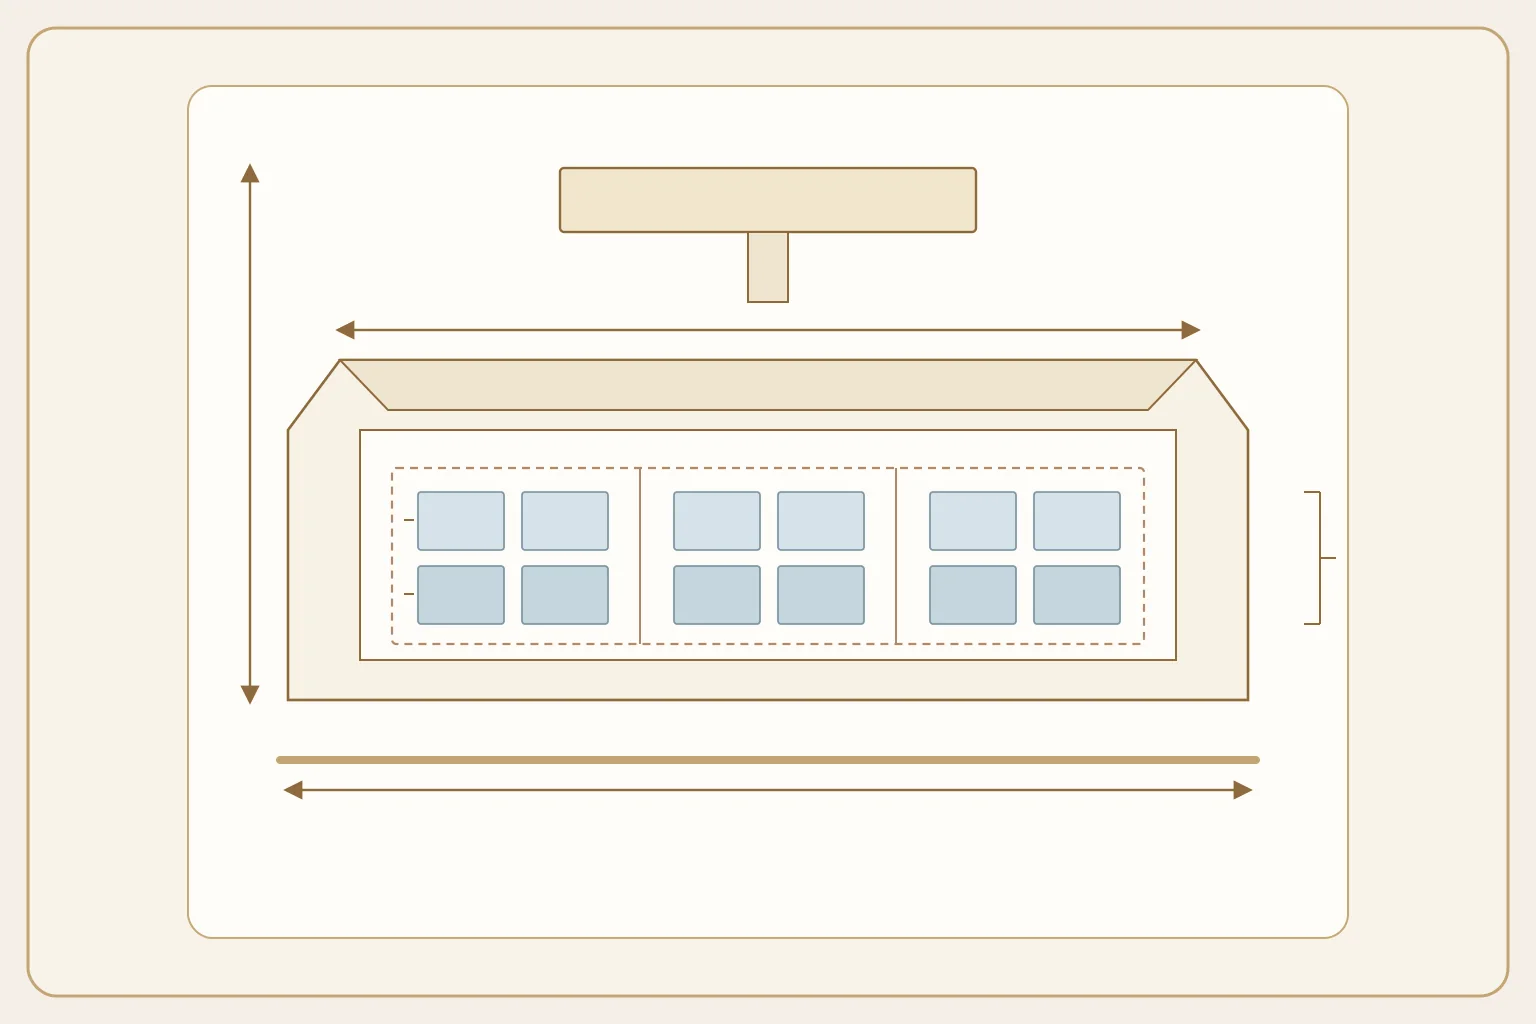
- Folding carton / paperboard — cleaner print face for cosmetics, small confectionery and gift SKUs when unit weight is low. Start from paper packaging and the folding carton RFQ specification for board, print and finish fields.
- Corrugated counter display — better when unit weight, multi-row depth or transit abuse is higher; common for PDQ trays. See corrugated boxes.
- Hybrid (corrugated tray + printed carton sleeve / header): treat as two designs if artwork or size differs; do not merge into one MOQ line.
Call out auto-bottom, crash-lock, tuck, or tray-with-lid early. “PDQ” alone is not a dieline.
Trays, inserts and load plan
- Describe function first: locate units, stop rattle, separate variants, hide stock behind facings.
- Then geometry: cavity L × W × H, wall height, partition count, and whether the tray pulls forward.
- Soft primary packs need the filled, sealed size.
- State target units per facing and total units per display so load and tip risk are reviewable in sampling.
- Optional paperboard trays / inserts are in scope; ask for other insert materials only if the project already requires them.
Print, finish and setup notes
Prefer CMYK with spot or foil only where needed; name surfaces (outer tray, header, wrap). Soft-touch, matte, gloss, spot UV or foil change countertop scuff behaviour — list them as options to quote. Include a simple setup diagram if staff erect the display in-store. Version barcode / claim space so plates do not churn after sampling.
RFQ checklist you can paste
| Field | Your entry | Notes |
|---|---|---|
| Display type | Counter / PDQ / tray+header | One primary structure |
| Footprint L × W | Counter limit | |
| Overall H | Incl. header | |
| Board path | Folding carton / corrugated / hybrid | Hybrid may be two designs |
| SKU list + facings | Max envelope per SKU | |
| Units per display | Weight per unit | |
| Tray / insert function | Or “none” | |
| Ship flat vs glued | Assembly steps | |
| Print / finish | Surfaces named | |
| Quantity per design | See MOQ | |
| Destination markets | On-pack language |
MOQ, sampling and lead time
Per MUGE commercial defaults (always subject to the formal quote):
- MOQ 500 pieces per design. New artwork or a new size is a new design; designs cannot be combined to meet MOQ.
- Sampling typically 3–7 working days, subject to quote confirmation.
- Bulk typically 12–25 working days, subject to quote confirmation.
- Die-cut / plate cost is included in the unit price.
No fixed unit prices, discounts or payment terms are published here.
Common mistakes
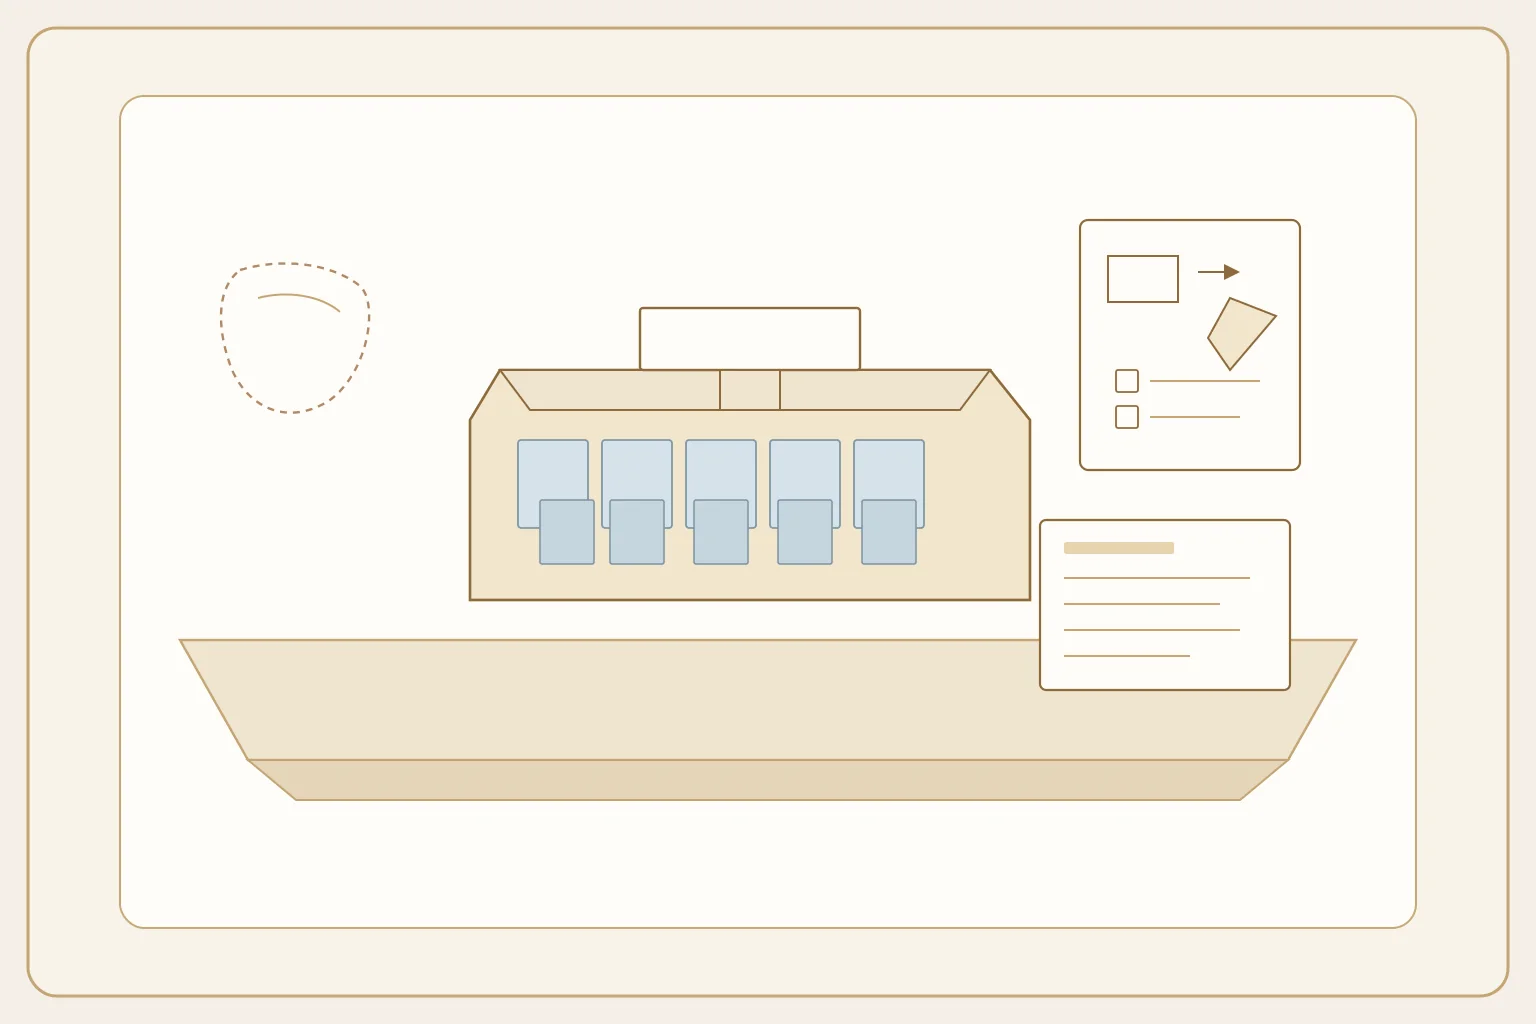
- Sending only a lifestyle photo and asking for “a sturdy counter display”.
- Mixing folding-carton and corrugated parts into one MOQ line when sizes or artwork differ.
- Measuring the empty bottle and packing the labelled, capped bottle in the facing.
- Ignoring header height so the display exceeds the retailer’s counter sightline on the first sample.
- Omitting unit weight so the tray bows or tips when fully loaded.
- Reusing the removed wholesale counter-display path. That old path redirects to the paper packaging category and is not this RFQ guide.
After you lock sizing and structure
- Confirm product envelopes with the measurement guide.
- Fill board / print fields via the folding carton RFQ specification when carton-based, or note flute / board grade on corrugated boxes.
- Enter quantity and structure notes in the quote calculator and attach this checklist.
- Request a sample review before bulk — tip, facing pull and fit are confirmed on the physical display.
- Live project questions: contact.
Frequently asked questions
- Can one counter display hold several bottle heights?
- Only if every finished unit fits the same cavity plan and the tallest capped height clears the header. Otherwise each cavity size is its own design for MOQ and tooling.
- Do I need final artwork before the first quote?
- Send footprint, height, unit count, board path and a sketch or dieline intent. Preliminary reviews can start with clear unknowns; plates and bulk should wait until critical dimensions and facing count are stable.
Send the counter display specification
Send your counter footprint, height limit, unit count, tray/insert plan and board path for a project review via the quote calculator or contact. Include capped product dimensions and whether the display ships flat so the first sample targets the right fit and setup.