
Art print packaging · Published June 12, 2026 · Updated September 5, 2026
How to Specify a Flat Mailer for Art Prints
Review print size, backing boards, corner clearance, moisture protection, opening and transit tests before approving flat art-print packaging.
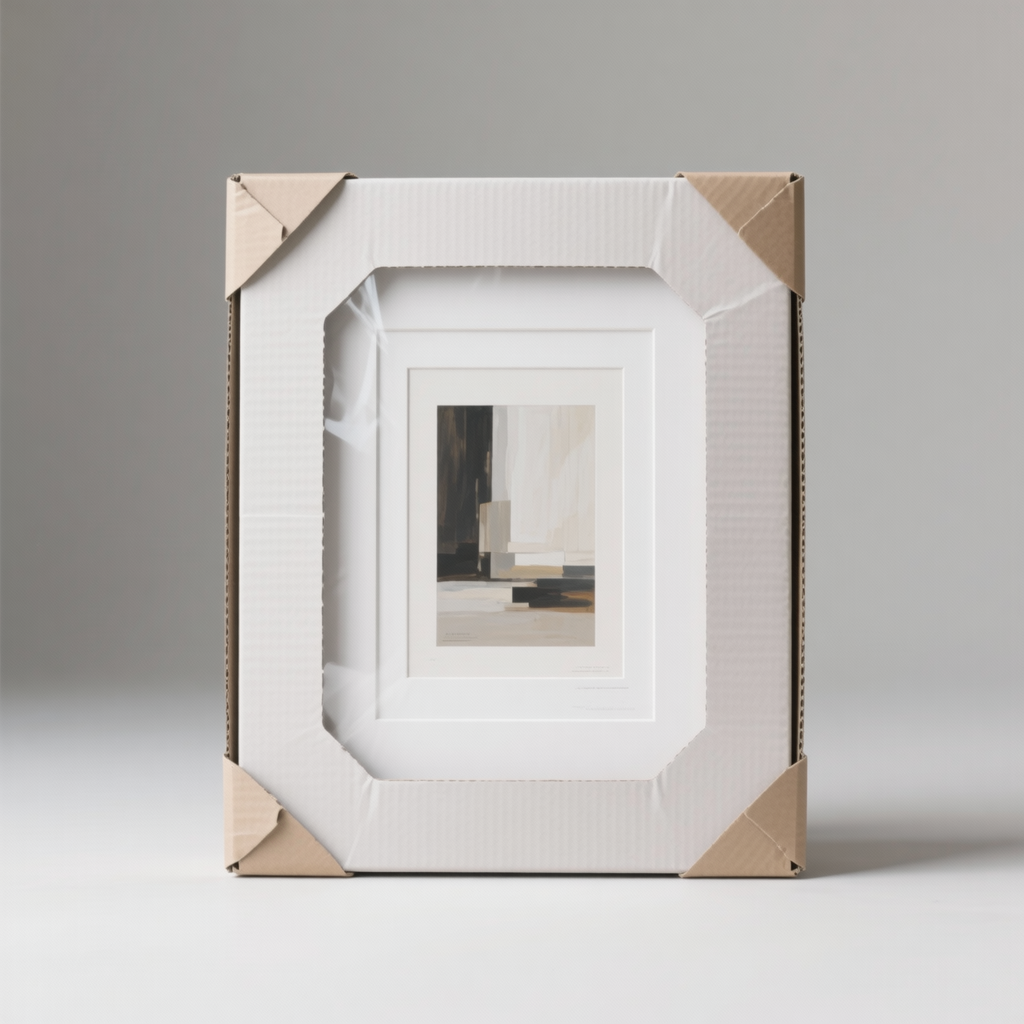
Define the packed item before choosing the mailer
A flat mailer can be a practical direction for art prints, posters, photographs and other paper goods that the buyer intends to deliver flat. It is not automatically crease-proof. The result depends on the print, backing layers, edge clearance, board construction, closure, outer packing and the handling conditions used for the order.
Start the brief with the finished sheet size, media type, maximum thickness, packed weight and whether the item is loose, mounted, matted or framed. Include every protective layer that will ship with it. A mailer sized around a bare print may become too tight after a backing board, tissue, sleeve or corner support is added.
Also state the sales channel. A presentation folder handed to a customer, a retail pack placed inside a shipping carton and a parcel-ready mailer face different risks. The same structure should not be approved for all three uses without separate review.
Flat mailer or mailing tube?
Use the product and customer expectation to decide between flat and rolled delivery.
Flat-mailer direction
- Presentation: the print should arrive and open flat.
- Media review: bending or rolling may affect the surface or buyer experience.
- Structure review: define panel stiffness, edge support and packed clearance.
- Fulfilment review: check flat storage, label area and completed parcel dimensions.
Tube direction
- Presentation: the print may be rolled and flattened later.
- Media review: confirm that the media and finish tolerate the agreed roll diameter.
- Structure review: define tube diameter, wall, cap retention and end clearance.
- Fulfilment review: document the rolling method, protective interleaf and cap sealing.
Neither format removes the need for packing and transit tests. If the print producer has a minimum roll diameter or storage requirement, include it in the packaging brief before comparing structures.
Build the protection as a system
The outer mailer is only one part of the pack. Review these layers together:
- Surface layer: tissue, glassine, sleeve or bag may help separate the printed surface from rubbing or moisture, but material suitability must be confirmed for the specific print and finish.
- Backing and face support: one or more flat boards may help limit local bending. Specify their finished size and position rather than asking only for “extra cardboard.”
- Corner and edge clearance: the print or frame should not carry every impact directly at the mailer edge. Record the intended gaps and support points on the drawing.
- Outer structure: compare a one-piece corrugated mailer, a two-piece telescoping format or a folder placed inside a shipper according to packed thickness and channel.
- Closure: identify tape, locking tabs, peel-and-seal strips or other closure details, including whether the pack must be reclosed for returns.
Avoid treating a sample photograph as a final construction specification. The approved drawing should show internal dimensions, material direction, fold and score locations, support pieces and the packing sequence.
Specify internal size and board direction
Give the supplier the maximum packed length, width and thickness, not only the artwork trim size. State which dimension is internal and include the unit of measure. If multiple print sizes share one mailer, show how the smaller sizes will be retained without sliding.
Corrugated construction should be reviewed around the packed product, route and test plan. Flute, liner and board direction affect thickness, bending behavior, printing and converting. A generic flute name or board weight does not by itself prove performance. Ask the supplier to document the proposed construction and compare samples under the same packed conditions.
Check how scores, slots, raw edges and corner folds interact with the print. The product should not be forced across a sharp edge during packing or opening. Where a frame is included, review frame depth, hanging hardware and corner geometry separately from an unframed print.
Control scuff and moisture risks without unsupported claims
Identify the actual exposure that concerns the buyer: warehouse humidity, rain during parcel delivery, condensation, ink transfer or abrasion. Then define the inner wrap, coating or bag requirement and the evidence needed for that project.
Paper-based packaging should not be described as waterproof unless the finished pack has been evaluated against a defined method and acceptance criterion. Likewise, terms such as recyclable, archival or acid-free need material-specific support and destination-market review before they appear in public artwork.
Ask the print producer whether the image surface, varnish, ink or embellishment has contact restrictions. Test any tissue, film or board that will touch the art instead of assuming that an unmarked sample guarantees long-term compatibility.
Review opening, returns and fulfilment
Observe a packer loading the actual print and a recipient opening it. A structure can protect the product during shipment yet create damage if the buyer must insert a blade near the artwork.
Mark the opening edge, label area and any tear strip clearly. Check whether instructions are needed, whether loose components can fall out, and whether the pack can be closed again if returns are part of the sales model. Confirm that shipping labels and tape do not cover the intended opening or brand message.
For fulfilment, record the flat storage footprint, packing steps and completed parcel dimensions. A premium presentation feature is useful only if the team can assemble it consistently and it survives the intended distribution process.
Use a project-specific sample and transit plan
Test the complete packed system, including the final print, inner layers, mailer, label and any outer carton. Agree the handling sequence, sample quantity and acceptance criteria before the test begins.
Depending on the route, review drop, compression, edge impact, bending exposure, abrasion and moisture conditions. The appropriate method is a project decision; a casual hand-drop is not a universal shipping qualification. After each agreed test, inspect:
- visible creases, waves or surface marks on the print;
- corner, edge and frame damage;
- movement between the print, supports and outer mailer;
- closure opening or tape failure;
- scuffing, ink transfer or moisture evidence;
- opening condition and whether the pack can still be handled safely.
Record photographs, observations and measurements against the sample ID. If the structure changes, repeat the relevant checks rather than transferring an earlier result to a different construction.
Flat art-mailer RFQ checklist
Send suppliers the same inputs so their proposals can be compared on a consistent basis:
- Product: print type, finished size, maximum thickness and packed weight.
- Format: loose, mounted, matted or framed; single print or set.
- Surface: ink, coating, embellishment and direct-contact restrictions.
- Channel: retail, presentation pack, parcel shipping or carton-packed distribution.
- Protection: sleeve or tissue, backing boards, face board, corner and edge support.
- Mailer: internal dimensions, construction direction, opening and closure.
- Print: brand coverage, label area, barcode and handling instructions.
- Returns: whether the customer must reopen and reclose the pack.
- Packing: loading sequence, units per carton and storage requirements.
- Evidence: sample scope, agreed tests, acceptance criteria and approval owner.
Common specification mistakes
Do not request an “anti-crease mailer” without defining the packed product and test conditions. Do not use outside dimensions when the supplier needs usable internal space. Do not approve the print surface before checking the actual inner wrap. Do not compare two quotes if their board construction, backing layers and packing method are different.
Most importantly, separate a design concept from tested performance. A concept image can help discuss orientation, corner support and presentation, but it cannot prove that the finished pack will prevent bending, moisture or transit damage.
Prepare a reviewable brief
Review corrugated mailer and shipping box directions, then use the packaging sample review checklist before bulk approval. You can also organize the request with the packaging quote calculator.
MUGE PACKAGING can review the structure from your print dimensions, packed weight, protection layers, sales channel and reference images. Send the flat-mailer project details. Pricing, timing, materials, claims and test requirements need project-specific confirmation.
Originally published June 12, 2026. Content reviewed and expanded September 5, 2026. The illustration is an AI-generated packaging concept, not evidence of a tested sample or customer project.