
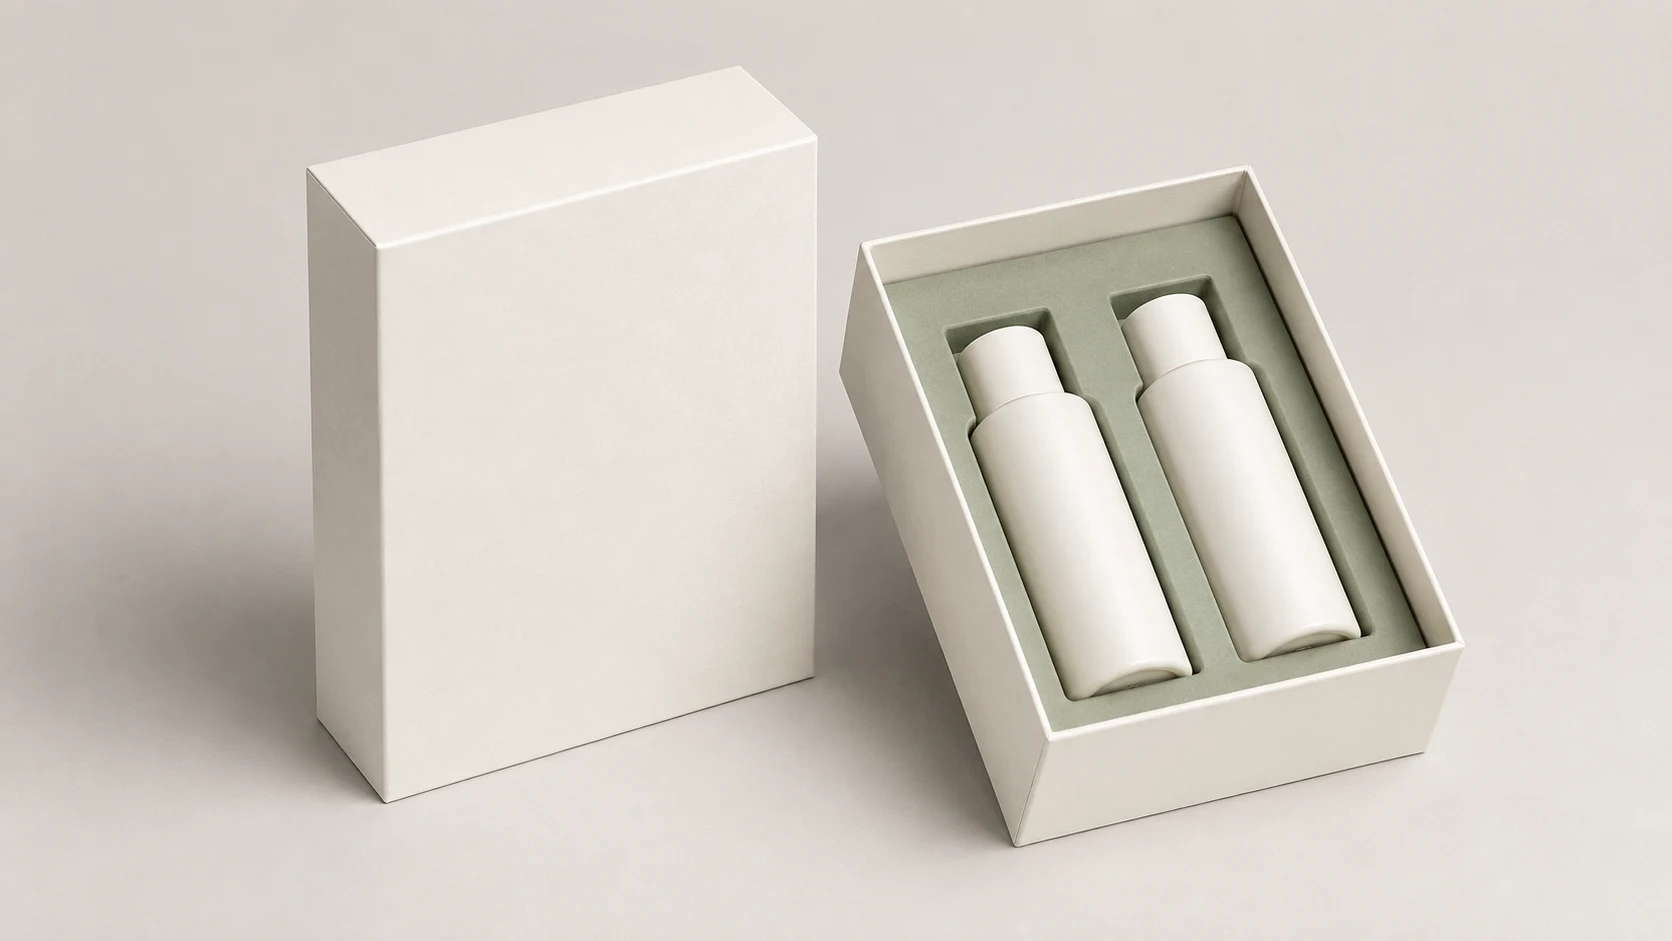
Start with the assembled stack, not a single box height
For a lift-off lid and base, the relevant height is the relationship after the tray and product are loaded. The tray may sit below the base rim for presentation or access, while the product can extend above the tray plane. Review the usable base envelope, tray support level and packed-product envelope together before deciding whether the lid direction is suitable.
This is not a request for one universal gap. Board, wrap, product shape, cap geometry, access needs and the selected measurement method can all change the review. Ask how the supplier will check the assembled sample instead of treating a concept image as a tolerance drawing.
Separate tray support from product presentation
A recessed paperboard tray can use selected contact areas to locate a product while its upper surface remains lower than the base rim. The buyer should show which areas may contact the item, which edges need clearance, and how a user will remove it. A high presentation line can look appealing but may compete with closure space or finger access if it is not reviewed in the assembled position.
Confirm the loading order too. A tray can be inserted before the product, or it can be built around a defined loading sequence. Those alternatives change what should be checked at sampling; neither proves retention or transit performance without project-specific evaluation.
A shared-datum worksheet for the seated lid
Ask for a side-section drawing with the finished inner floor of the base as the common zero. Use the same units and the intended fully seated lid position for every entry below. An outside height or lid depth alone is not a substitute for these assembled coordinates.
- L — Inner lid ceiling
- Height from the common zero to the underside of the lid at its agreed seated position. Include the finished lining, not bare-board dimensions.
- T — Highest tray feature
- Height to the highest insert edge or feature that could meet the lid. Mark the tray support locations separately; the visible tray surface does not identify its support construction.
- P — Highest packed-product point
- Height to the tallest point of the loaded product, including cap, pump, accessory or raised component in its packing orientation.
- R — Remaining vertical space
- Calculate L minus the greater of T and P. Keep the three measured inputs with the drawing revision so another reviewer can reproduce this geometric check.
A negative R indicates overlapping envelopes in that drawing. Zero leaves no nominal vertical space. A positive value is not a pass: agree project-specific allowances, check horizontal lid-to-base fit and opening feel, and verify the finished sample. This worksheet is a geometric planning aid, not a measured MUGE test result or a universal clearance specification.
Record what changed when the sample does not close
First check the loading orientation, lid seating position and drawing revision. Identify the actual contact point before changing the tray height, cavity or lid. Record the before/after dimensions and repeat the same closing and removal checks. These are proposed review steps, not a claim that MUGE has recorded a failure or validated a correction for the pictured concepts.
Reference and limits
MUGE PACKAGING’s physical lid-and-base reference supports checking the finished lid relationship, opening feel and wrapped corners on a sample. It does not establish recessed-tray dimensions or transport results. This is our own reference, not independent certification of this design. The worksheet above extends that review into a proposed measurement brief.
Prepared by MUGE PACKAGING. Andy, Chief Designer & Project Manager, is the project contact; no individual technical approval of this new concept is claimed.
Six fields for a comparable recessed-tray RFQ
Packed-product envelope
Record maximum finished length, width, height, weight, cap or accessory and intended loading orientation.
Base envelope
State the usable internal base length, width and height, not only the finished outside box size.
Tray plane
Describe where the paperboard tray is supported, its top plane, cavity edges and intended presentation height.
Access
Mark finger access, removal direction and the contact zones that should remain clear during loading and removal.
Lid relationship
Identify the lift-off lid depth and the assembled vertical stack to be checked with a sample.
Material and sample
Provide board and wrap direction, artwork/finish reference, packing plan and measurable acceptance checks.
Common review mistakes
- Using a mood image without the maximum packed-product envelope or loading orientation.
- Specifying only the exterior base size while leaving tray support and the internal lid relationship undefined.
- Calling an insert “flush” or “recessed” without showing the intended tray plane and visible product height.
- Providing an opening preference without a finger-access or removal-direction requirement.
- Treating an attractive sample as evidence of tested protection, controlled fit or a final production specification.
Request a lid-and-tray review
Send product dimensions and photos, desired presentation height, tray access direction, lid/base preference, artwork status, quantity direction and destination market. MUGE PACKAGING can review the proposed stack before sampling.
For a broader comparison of rigid box structures, see the rigid box structure guide. For general product categories, visit paper packaging.