

What “a mailer box with an insert” usually means
The outer box is normally a die-cut corrugated mailer with a roll-end front tuck and dust flaps, sometimes called a tuck-front or roll-end mailer. The insert is a separate part placed inside it. In paper-based packaging the common insert styles are:
- Die-cut cavity insert. A flat or folded sheet with cut-outs that hold each item in place.
- Folded fitment or platform. A scored piece that folds into a raised tray, lifting the product and leaving space underneath for cards or accessories.
- Slotted dividers. Interlocking strips that split the box into compartments for several items.
- Two-level insert. A top tray over a lower compartment, used when a kit has a hero item and smaller pieces.
Inserts can be cut from corrugated board, from folding carton board or from a combination of the two. EVA foam is sometimes added for heavy or delicate items; it is worth asking about only when the product genuinely needs cushioning that board cannot give. Our corrugated mailer box page shows the outer box style we usually review first.
Match the insert to the product
| Product situation | Insert style to consider | What to watch |
|---|---|---|
| One item of a fixed shape, such as a jar, device or bottle | Die-cut cavity insert | Cavity size against the real product, not the drawing |
| Kit of three to six different items | Slotted dividers, or a cavity insert with several openings | Each item’s weight and the order customers will unpack it |
| Hero product plus cards, samples or cables | Two-level insert or raised platform | Height left for the top tray and the lid |
| Heavy or fragile item | Thicker corrugated fitment, with or without foam | Corner and edge protection, not only the top face |
| Product that varies in size between batches | Insert with tolerance or a soft-lined cavity | Agree the size range before tooling |
The aim is to stop movement in every direction. Many inserts hold the product well from above but let it slide sideways. Ask how the design restrains the item on all sides and how far it sits from the box walls.
The insert and the box are one specification
The insert changes the outer box, and the box changes the insert.
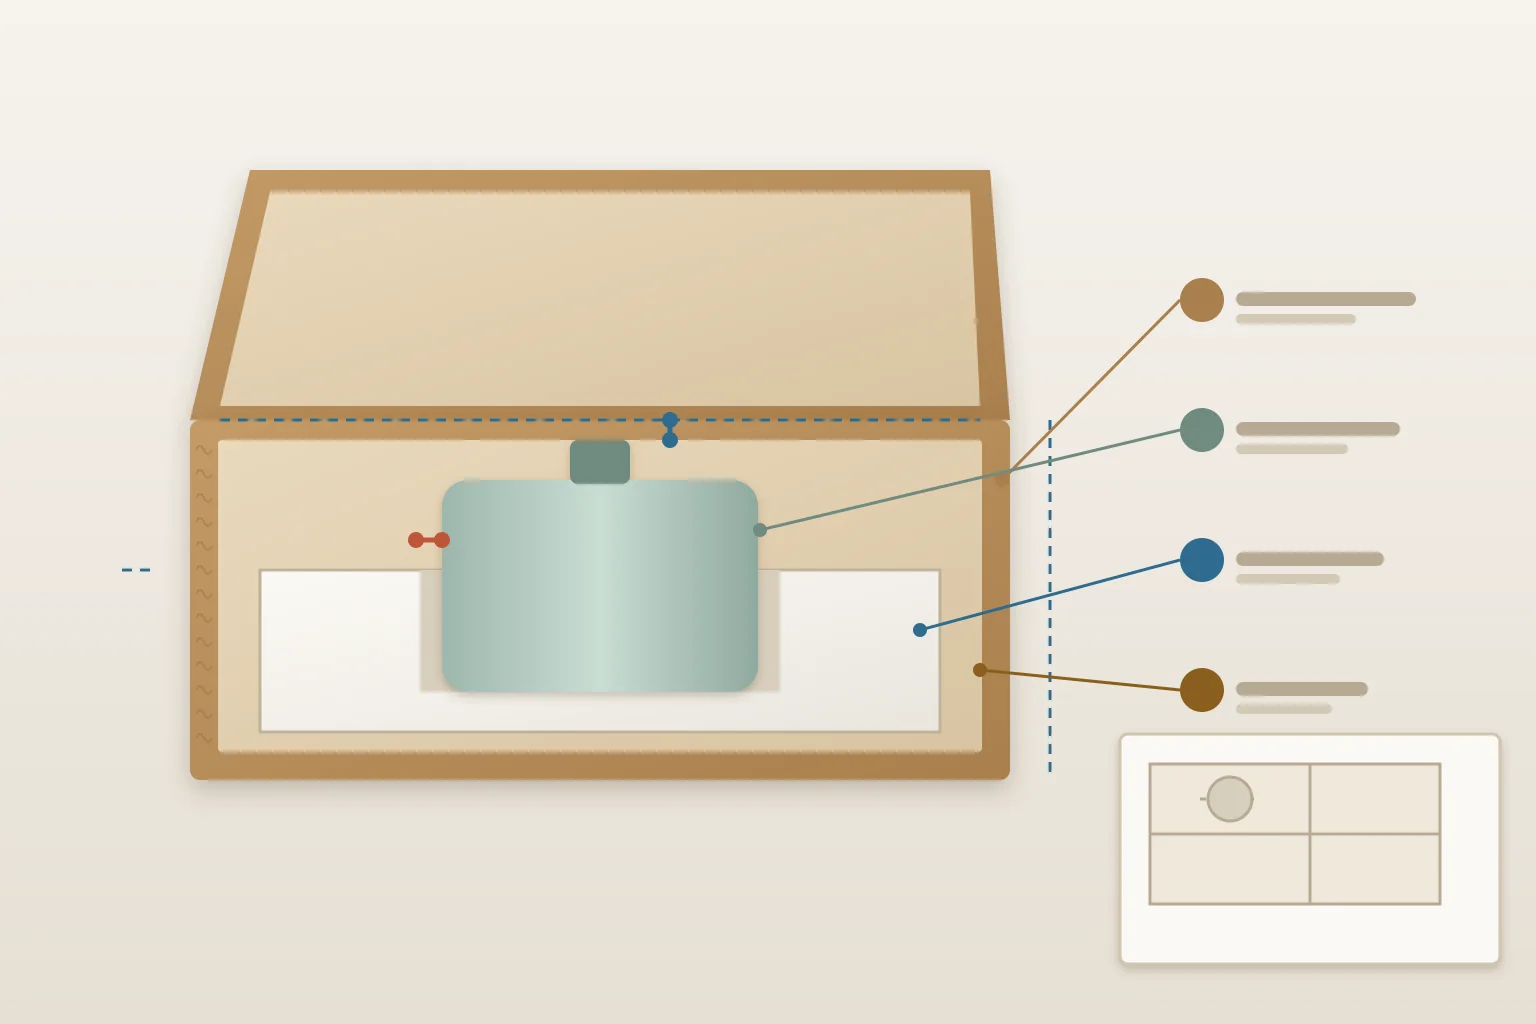
- Internal size comes from the insert. Size the mailer to the finished insert, not to the product. If the insert adds wall thickness or a raised platform, the box grows to match.
- Board grade and flute. A heavy kit in a light single-wall mailer can bow even with a good insert. State the packed weight, including the insert and any printed material, so the board can be chosen for that load. Our corrugated board page explains the common flute and wall options.
- Lid clearance. The lid must close without pressing on the product. Leave room for the item, any card on top and the board thickness of the lid itself.
- Packing method. Inserts that arrive flat and fold by hand add packing time. Ask whether the insert ships flat or pre-glued, and how many folds a packer needs to make.
If you are still choosing between box constructions, our corrugated boxes category compares mailer, shipper and other styles before you commit to a structure.
Print and finish inside the box
Inside print and a printed insert are two different decisions, so choose where the brand moment actually happens.
- Inside of the lid. The first surface a customer sees; often the best place for a message or pattern.
- Insert surface. A printed or white-lined insert looks cleaner than raw brown board, but adds a print step.
- Colour consistency. White and brown liners take ink differently. If the box and insert use different boards, approve colour on both.
- Coatings. A varnish or lamination on the outside helps with scuffs in transit. Keep in mind that coatings can affect how the box is handled at end of life, so match any environmental wording to the final material.
Common mistakes
- Sizing the box to the product and adding the insert afterwards.
- Sending drawings only, when real products vary by a few millimetres.
- Testing the sample with one item while the live kit has several.
- Choosing a light board for appearance and finding it bows with the packed weight.
- Forgetting the packer: inserts that are slow to fold become a cost on every order.
Buyer checklist for a mailer-with-insert quote
| Field | What to send | Why it matters |
|---|---|---|
| Products | Dimensions and weight of every item, or physical samples | Cavities are cut to real items |
| Layout | Which items go together and how they should be seen on opening | Defines the insert style |
| Packed weight | Total weight with insert, cards and void fill | Drives board grade and flute |
| Outer box | Preferred style, internal size if known, closure | Keeps every supplier quoting the same box |
| Insert material | Corrugated, carton board, or a combination; any foam need | Each option changes cutting and assembly |
| Outside, inside lid, insert; colours and coverage | Separates print processes in the quote | |
| Packing | Flat or pre-assembled insert, who packs and how | Affects labour and freight volume |
| Versions | Kit versions and the quantity per version | Lets each version be reviewed separately |
| Shipping route | Parcel carrier, pallet, export destination | Affects compression and drop expectations |
What to check on the first sample
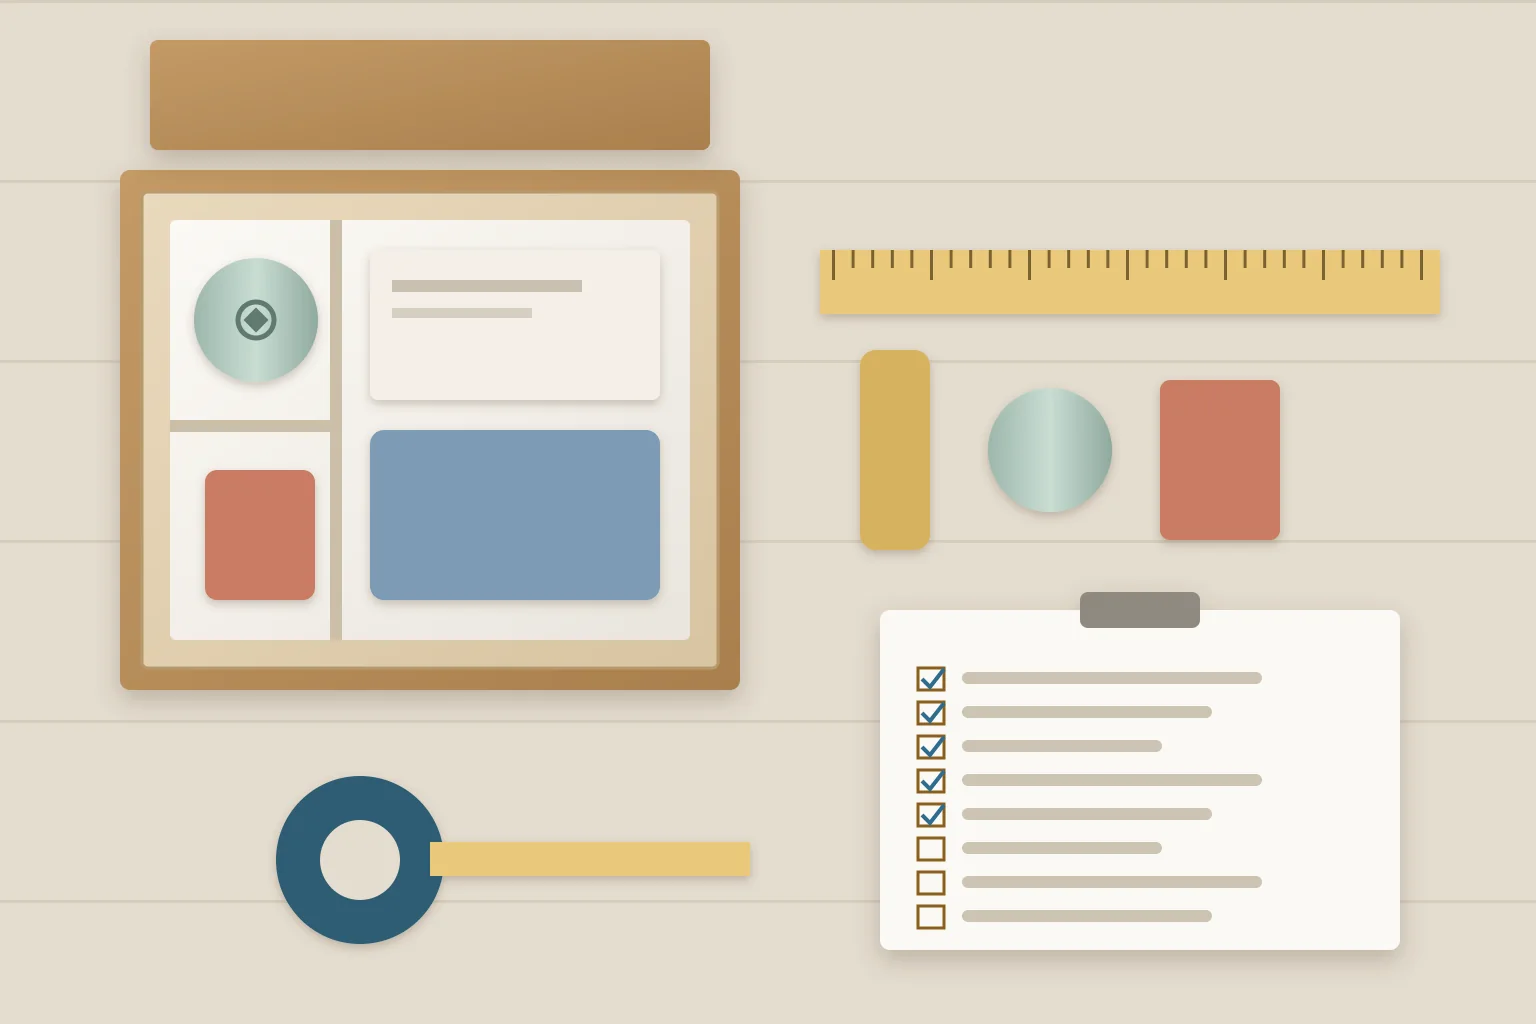
Pack the sample with the real products and any cards or leaflets, then close it as a packer would. Check that nothing moves when the box is shaken and tilted, that the lid closes without pressure on the product, that removal is easy without tearing the insert, and that print on the box and insert matches the approved artwork. If you plan your own transit trial, run it with the full packed kit and record the results so bulk production follows the same approved sample.
Frequently asked questions
- Can the insert and the mailer use different boards?
- Yes. A common pairing is a printed corrugated mailer with a plain or white-lined insert. Approve both together, because colour and fit are judged as one pack.
- Do I need a new insert if I add a product to the kit later?
- Usually yes, if the new item changes the layout or weight. Plan likely kit versions early so the outer box can stay the same where possible.
Send your mailer and insert details for review
If you are planning custom mailer boxes with inserts, send the product sizes and weights, the kit layout, artwork or references and the quantity per version through our contact page. We will review the box, insert and board direction with you and agree what the first sample needs to prove before quotation.